
I originally didn't plan on making a tutorial for this dress, but I had a request through Pinterest from Grace, who collects Disney princess dress tutorials for "not-so-grownups" (which can be found here: http://happilygrim.blogspot.com/2013/08/disney-tutorials-for-not-so-grownups.html). Of course I can relate! It has taken me FOREVER to make this tutorial, but here it is!


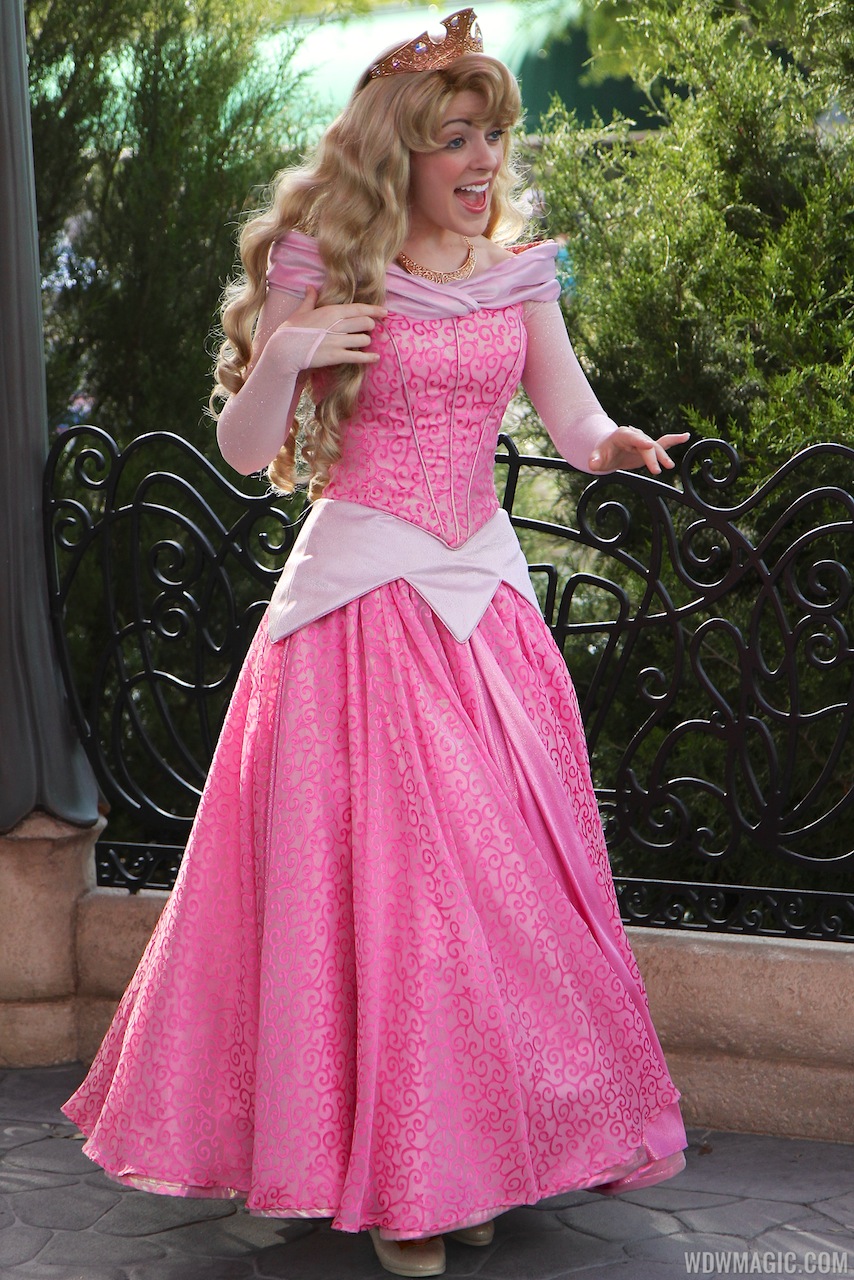
I actually originally made this dress over 10 years ago when I was a junior in high school. I decided to revamp it for Salt Lake Comic Con FanX 2015. The base dress was pretty much the same, but all the details were pretty much re-done.
1. Base Dress
The base dress was made using the Butterick 3552 renaissance dress pattern. I already had it from an Elven princess dress I made the year before.
I removed the extra "bell" section from the bottom of the sleeves, but still kept the whole sleeve a little baggy. I also removed the train from the back of the dress pattern.
 |
| The finished "base dress" |
2. Skirt Overlay
Unfortunately, I don't have many pictures of this process. I don't own a dress form, but luckily have an awesome friend who let me borrow hers (Thanks Kaitlyn!!!). I can't emphasize how helpful this was! Basically, I got the sheer overlay fabric and draped it over the dress while it was on the dress form. I pinned it into place when it looked right. Then I marked where I wanted to cut, and voila! I added the sequin trim and beading onto the bottom.

Then I pinned and basted the overlay in place and tried on the dress to make sure everything looked and fit right. I stitched everything onto the dress, then created a pattern for the waistband using cotton muslim. Again, I draped the fabric onto the dressform, pinned, and cut.

I made sure to add a slit in the back of the waistband and overlay for the zipper. This made the dress much easier to get into!
3. Shoulder poof/overlay
Is there an official name for this part? I used the same fabric as the skirt overlay. I had a long rectangle--I think it was about 60 in. wide and 14 in. tall. I sewed the sequin trim onto the longest parts (top and bottom), then draped onto the dress using the dressform. This part was a little bit trickier. I pinched the rectangle down the middle (where it sits above the bust) and tied a knot. Then I used a LOT of pins to achieve the look that I wanted. |
| Everything is pinned in place on the neckline and shoulders |
4. Rhinestones
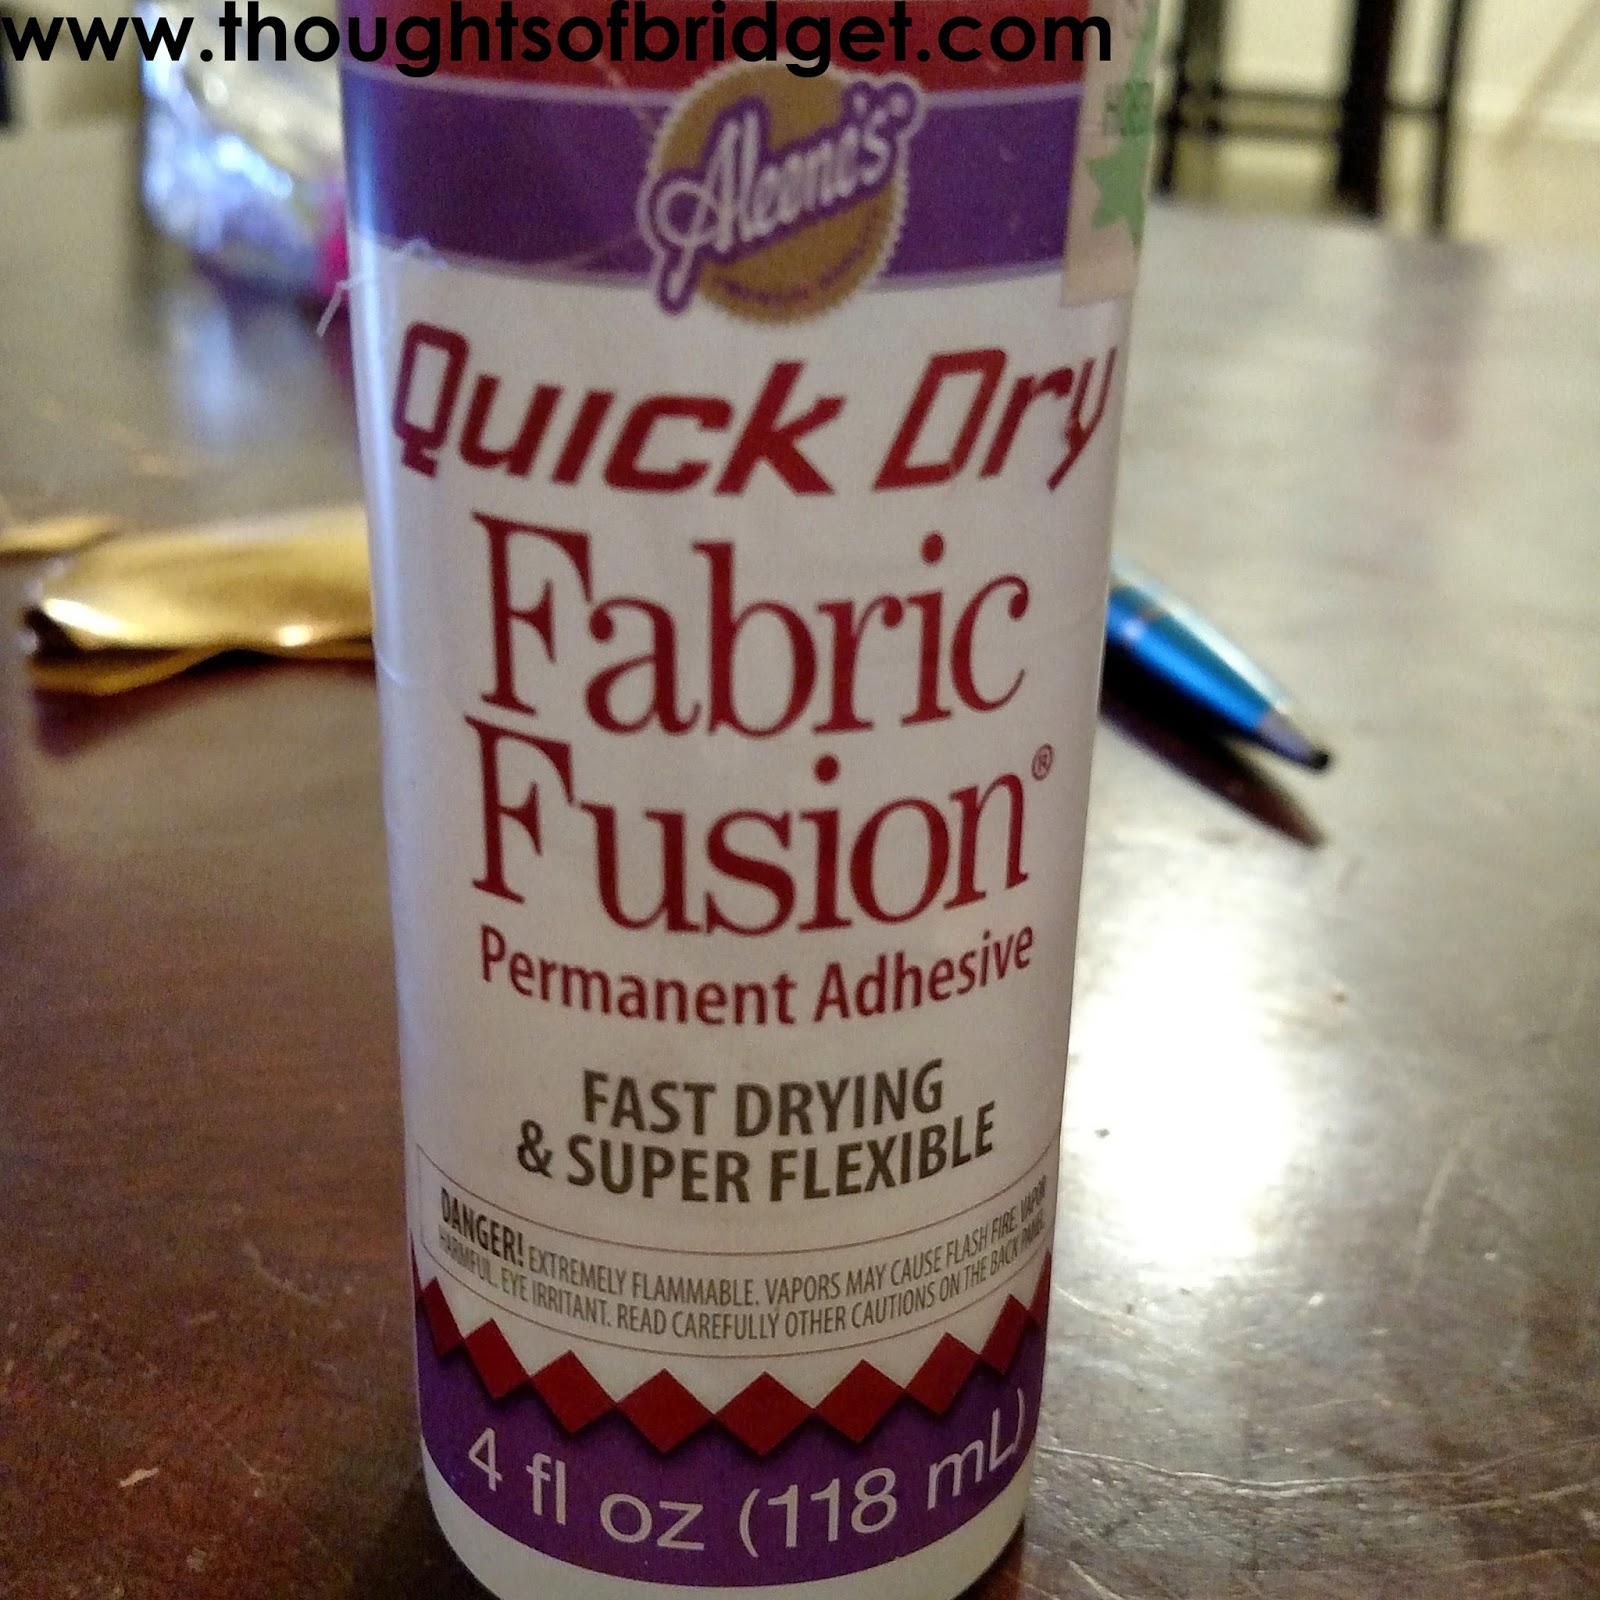
I attached all the rhinestones using Aleene's Jewel-It glue. Most of the rhinestones were purchased from JoAnn Fabric & Craft, but the larger triangle shaped ones were purchased online. Triangle shaped rhinestones are so hard to find! I eventually found these ones as part of a bracelet on aliexpress.com that was a only few dollars. I popped them off the bracelet and used them on the waistband and headband instead. They turned out great.
5. Zipper & Sleeves
I finished up by adding a hidden zipper. Unfortunately I didn't completely line up the sequin trim, but it still turned out okay. Getting in and out of the dress is a breeze, so that's nice.

And there you have it! I hope this gives you some ideas and things were explained in a way that makes sense. If you have any questions or comments, let me know!


